- Product Resource Center > All Products > CPU > AMD FX Series > AMD FX 8-Core Black Edition ContentMain1 It looks like your browser does not have JavaScript enabled.
- AMD FX(tm)-8120 Eight-Core Processor - Driver Download. Updating your drivers with Driver Alert can help your computer in a number of ways. From adding new functionality and improving performance, to fixing a major bug.
Can I use Windows® 7 or Windows® 8.1 graphics driver for Windows® 10? Should I upgrade my graphics drivers before updating my existing OS to Windows® 10? Which AMD graphics products can fully support Windows® 10? Windows® 10 compatibility checker indicates that my graphics adapter isn’t supported, but according to AMD, it is.
Posted by4 years ago
Archived
I recently got my AMD Mavericks Hackintosh working, and i thought i would share how to do it with you guys. If you're don't have a computer yet and you plan to hackintosh, get Intel. Intel is WAY easier to Hackintosh.
Build:
Driver Matic allows the installation of a driver with the click of a button. Prior to Driver Matic, all drivers had to be installed differently and required significant user involvement. Now with Driver Matic, a PC can have up to date drivers automatically. Yes it can be done but the process is slow and awkward. When I get time I'll make a premade installer like El Capitan and that can be used to install. AMD FX™ processors deliver a great desktop experience with Windows® 10 and DirectX® 12, thanks to multiple cores paired with high processor frequencies up to 5 GHz. From AMD, the company behind proven high performance processors in the PlayStation® 4 and Xbox One™ gaming consoles, and Radeon™ graphics cards.

Amd Fx-8120 Drivers
FX-8350
Gigabyte 990-fxa-ud3
XFX DD HD 7870 2GB (Not supported fully **)
G-Skill 8GB Ram Stick
1TB WD Hard Drive
ASUS DVD Drive
Gigabyte 990-fxa-ud3
XFX DD HD 7870 2GB (Not supported fully **)
G-Skill 8GB Ram Stick
1TB WD Hard Drive
ASUS DVD Drive
Step 1:
Obtain a vanilla installer for Mac OS X Mavericks. (I used MacAppStore)
Obtain a vanilla installer for Mac OS X Mavericks. (I used MacAppStore)
Step 2:
Format USB to a 8GB MBR Partition if you want you can make another partition as long as one of them is a 8GB MBR. We do this because a partition larger than 8GB for then installer can cause problems.
Format USB to a 8GB MBR Partition if you want you can make another partition as long as one of them is a 8GB MBR. We do this because a partition larger than 8GB for then installer can cause problems.
Run Unibeast on a existing Mac or Hackintosh and proceed to create a Installer USB on the partition you made on your USB with your Mavericks installer you downloaded.
Step 3:
Open Terminal Enter 'defaults write com.apple.finder AppleShowAllFiles YES' without the quotes.
Open Terminal Enter 'defaults write com.apple.finder AppleShowAllFiles YES' without the quotes.
Step 4:
Open your Unibeast installer USB, and with the hidden files now shown copy mach_kernel to desktop, and then delete it from the USB stick.
Open your Unibeast installer USB, and with the hidden files now shown copy mach_kernel to desktop, and then delete it from the USB stick.
Step 5:
Go to http://wiki.osx86project.org/wiki/index.php/Patched_Kernels#OS_X_10.9_Mavericks and download 'AMD Kernel For Mavericks 10.9.4' from there, and download Multibeast from tonymac. Put Multibeast on a new folder under the root of your USB stick, and name the folder 'Installer'
Go to http://wiki.osx86project.org/wiki/index.php/Patched_Kernels#OS_X_10.9_Mavericks and download 'AMD Kernel For Mavericks 10.9.4' from there, and download Multibeast from tonymac. Put Multibeast on a new folder under the root of your USB stick, and name the folder 'Installer'
Step 6:
Copy the mach_kernel you just downloaded to the root of your USB stick, where the one you deleted was and eject the USB.
Copy the mach_kernel you just downloaded to the root of your USB stick, where the one you deleted was and eject the USB.
Step 7:
Insert the USB into the computer you want to install Hackintosh on, and boot from it. When you get to the bootloader screen, use the arrow keys to select your Installer USB, and type in the following bootflags: npci=0x3000 -v GraphicsEnabler=No
Insert the USB into the computer you want to install Hackintosh on, and boot from it. When you get to the bootloader screen, use the arrow keys to select your Installer USB, and type in the following bootflags: npci=0x3000 -v GraphicsEnabler=No
Step 8:
Press enter and it should start booting in Verbose mode. (That is the -v bootflag.) It should eventually boot into a gray or white screen with the mouse behind it, and if you wait the installer will boot.
If it doesn't boot, let me know the last line of text you got in verbose mode along with your gear, or if you get stuck on another step let me know which one along with your gear.
Step 9:
Press the next arrow to go into the Installer. Once you get into it press Utilities at the top, and go into Disk Utility. Once in Disk Utility you will need to format the HDD you want to install on to GUID Partition Table, 2 Partitions. Partition 2 should be a 1.07GB MS-DOS FAT partition, while Partition 1 should be as big as you can make it and a Mac OS X Extended Partition. You should name Partition 1 Mac for the purposes of this guide.
Press the next arrow to go into the Installer. Once you get into it press Utilities at the top, and go into Disk Utility. Once in Disk Utility you will need to format the HDD you want to install on to GUID Partition Table, 2 Partitions. Partition 2 should be a 1.07GB MS-DOS FAT partition, while Partition 1 should be as big as you can make it and a Mac OS X Extended Partition. You should name Partition 1 Mac for the purposes of this guide.
Step 10:
After partitioning the disk, go out of Disk Utility and proceed with the install. For me it took 23 minutes. After the install, shut down your computer and boot back into the Installer from the USB.
After partitioning the disk, go out of Disk Utility and proceed with the install. For me it took 23 minutes. After the install, shut down your computer and boot back into the Installer from the USB.
Step 11:
This time in the installer, go to Utilities and open Terminal. Enter the following code: cp mach_kernel /Volumes/Mac (Presuming you named Partition 1 Mac as i told you to.)
This time in the installer, go to Utilities and open Terminal. Enter the following code: cp mach_kernel /Volumes/Mac (Presuming you named Partition 1 Mac as i told you to.)
Step 12:
After executing the code, shut down your computer and boot into the USB Bootloader. This time instead of booting into Installer, boot into your Installation of Mac OS X on your hard drive. Use the same bootflags you did for booting the Installer. (If it doesn't boot, add the -x bootflag for safe mode, and it should.)
After executing the code, shut down your computer and boot into the USB Bootloader. This time instead of booting into Installer, boot into your Installation of Mac OS X on your hard drive. Use the same bootflags you did for booting the Installer. (If it doesn't boot, add the -x bootflag for safe mode, and it should.)
Step 13:
Once you have booted up, you should be at the welcome screen. Internet will not likely work, and you don't need to worry about that for now. Make a username and password and then press the next and let it setup your mac.
Once you have booted up, you should be at the welcome screen. Internet will not likely work, and you don't need to worry about that for now. Make a username and password and then press the next and let it setup your mac.
Step 14:
Once you are into OS X, copy Multibeast from your USB, we put it in the folder Installer in this guide. Open Multibeast, and select DSDT free for now. Now you need to select some options. (If your computer build is different some of these will not work. Let me know if you have any problems here.) You will need to select under network, a network driver. For the 990-fxa-ud3 ethernet it is the Realtek81 driver.
Once you are into OS X, copy Multibeast from your USB, we put it in the folder Installer in this guide. Open Multibeast, and select DSDT free for now. Now you need to select some options. (If your computer build is different some of these will not work. Let me know if you have any problems here.) You will need to select under network, a network driver. For the 990-fxa-ud3 ethernet it is the Realtek81 driver.
Step 15:
Also make sure Chimera is checked as that is your bootloader. Once you have the network and Chimera selected, you can proceed to install those. If some others are selected by default, leave them there.
Also make sure Chimera is checked as that is your bootloader. Once you have the network and Chimera selected, you can proceed to install those. If some others are selected by default, leave them there.
Step 16:
Once that is done installing, you can shut down your computer. When you turn it back on, boot from your HDD. It should come up with a bootloader, you may need to press enter in under 5 seconds or something for it to allow you to type in bootflags. Use the same bootflags and boot from the HDD. Don't use -x this time and see if it boots. If it does, congratulations you have a working Hackintosh!
Once that is done installing, you can shut down your computer. When you turn it back on, boot from your HDD. It should come up with a bootloader, you may need to press enter in under 5 seconds or something for it to allow you to type in bootflags. Use the same bootflags and boot from the HDD. Don't use -x this time and see if it boots. If it does, congratulations you have a working Hackintosh!
Step 17: Troubleshooting
If you had any errors during this process, let me know. Common errors are:
If you had any errors during this process, let me know. Common errors are:
By using the PQI USB flash drive recovery tool to scan your PQI USB flash drive, you can easily recover a variety of file types from your PQI USB flash drive, including photos, document files, videos, audio files, etc. A trial version of this PQI USB Flash Drive Recovery is available now. Flash drive drivers for win98.
I mean, that is why Mac lovers love their Macs. 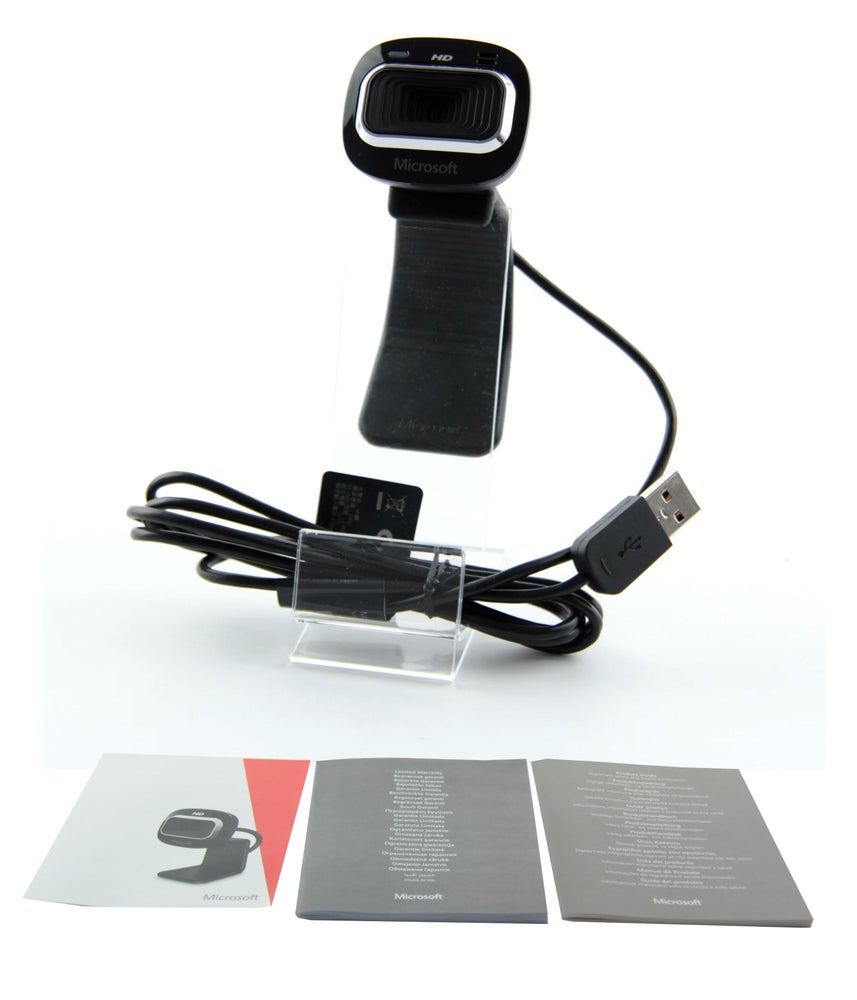 One being the LifeCam and the other being why is it so difficult to resolve issues with Macs. I'm also having issues with a headset/mic combination and with migrating from my PC to my Mini, but I will save those for later postings and concentrate this one on the two issues I have already mentioned above. So why such a hard time getting various components gooing?
Hanging on something during -v boot. You need to let me know the last line, type it out or take a picture, and send it to me.
Only booting in safe mode. You need to let me know your build.
Graphics card not working properly/resolution is low. You need to let me know your build.
Just follow the directions above if you have any issues, for most of them just let me know your build and where you are stuck and i will help you.
** I couldn't get my HD 7870 XFX DD Edition to work properly, it always hangs on boot for me. Other 7870's work, just my XFX has issues with hackintosh. I get it to run with 7MB Display and i manually change the resolution in a plist.
If iMessage and FaceTime aren't working, or you have any issues, please let me know.
Amd Fx 8120 Drivers For Mac
If you are notice something wrong in my guide, let me know! Also if you don't understand why something works or doesn't work i will be happy to explain it to you.
Linkys:
http://www.unibeast.com/ - Unibeast
http://www.multibeast.com/ - Multibeast
http://wiki.osx86project.org/wiki/index.php/Patched_Kernels#OS_X_10.9_Mavericks - Patched AMD Kernels.
http://www.multibeast.com/ - Multibeast
http://wiki.osx86project.org/wiki/index.php/Patched_Kernels#OS_X_10.9_Mavericks - Patched AMD Kernels.
Successful Hackintoshes:
FX 6330 - Niresh - /u/Kitty117/
FX 8350, 990FXA-UD3 - /u/Xylonized/
FX 8320, 990FXA-UD7, GTX 760 - /u/JvvB126/
FX 8350, 990FXA-UD3 - /u/Xylonized/
FX 8320, 990FXA-UD7, GTX 760 - /u/JvvB126/
55 comments
Optional Offer for DriverDoc by Solvusoft | EULA | Privacy Policy | Terms | Uninstall
ABOUT SSL CERTIFICATES |
Fx 8120 Update
| Manufacturer: | AMD | |
| Hardware Type: | Processor | |
| Model: | FX 8-Core | |
| Series: | FX-8120 | |
| Compatibility: | Windows XP, Vista, 7, 8, 10 | |
| Downloads: | 82,524,505 | |
| Download Size: | 3.4 MB | |
| Database Update: | ||
| Available Using DriverDoc: | Download Now | |
Optional Offer for DriverDoc by Solvusoft | EULA | Privacy Policy | Terms | Uninstall | ||
This page contains information about installing the latest AMD FX 8-Core FX-8120 driver downloads using the AMD Driver Update Tool.
AMD FX 8-Core FX-8120 drivers are tiny programs that enable your Processor hardware to communicate with your operating system software. Maintaining updated AMD FX 8-Core FX-8120 software prevents crashes and maximizes hardware and system performance. Using outdated or corrupt AMD FX 8-Core FX-8120 drivers can cause system errors, crashes, and cause your computer or hardware to fail. Furthermore, installing the wrong AMD drivers can make these problems even worse.
Recommendation: If you are inexperienced with updating AMD device drivers manually, we highly recommend downloading the AMD FX 8-Core FX-8120 Driver Utility. This tool will download and update the correct AMD FX 8-Core FX-8120 driver versions automatically, protecting you against installing the wrong FX 8-Core FX-8120 drivers.
Fx 8120 Specs

